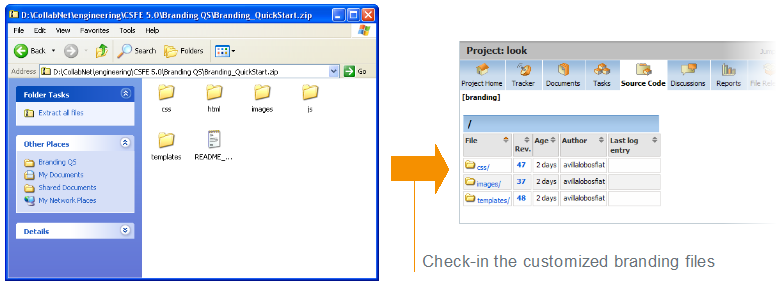
Follow these general instructions to customize a page, picture, text string, or other
element on your site.
Important: Custom branding changes can be overridden when your site is
upgraded to a new version. You may have to reapply any look-and-feel modifications
after an upgrade.
-
Download the sample branding files.
Choose one of these files:
-
Basic branding package:
Contains the files you need to do most of your branding tasks. Safest to
use this file if you are doing your own branding.
-
Advanced branding package:
Contains all the files that can be customized. For use when someone from
CollabNet is helping
you with your branding.
Note: It is important that you have the most recent available version of this
archive as a starting point. Check that the version number at the top of the
readme.txt file in your copy of the branding
package is the same as your version of the application. If it is not the
same, check
www.collab.net to see if there is a more recent version.
-
In the look project, check out the
branding repository.
-
Copy the default version of the appropriate file from the branding zip file to
the equivalent directory in your local copy of the branding
repository.
-
Change the file to produce the results you want.
For example:
- To change a logo on your site's home page, overwrite the
home.gif file with a new file of the same
name.
- To change a logo on a project home page, overwrite the
project.gif file with a new file of the same
name.
-
Commit the changed files into your site’s branding
repository.
Important: Your branding repository does not have to
contain all the files that are in the sample branding zip file, but the structure of
your repository must be an exact mirror of the structure of the sample file set.

