For your source and target systems, map attributes such as project names, and system and repository IDs.
Project mappings are stored in the SYNCHRONIZATION_STATUS table in the central database. To set up your source and target repositories, you add a row to this table for each direction of synchronization. In earlier versions of the connector, it was recommended that you use a graphical database editing tool or manually append the appropriate INSERT statements to the CCFDB.script file in the <CCF_HOME>\production\centralCCFDatabase folder. You can now set this up using the CCF user interface.
Note: If you are using Project Tracker in TeamForge, the user setting up project mappings must be a
TeamForge project administrator.
Note: When you create a project mapping, synchronization of artifacts is paused by
default. When you finish configuring the connector, you will need to resume
synchronization.
-
In the CCF Explorer, right-click Project
Mappings for your landscape and select .
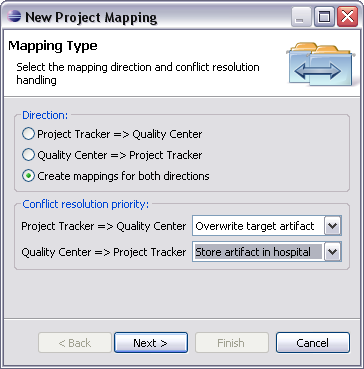
- In the New Project Mapping window, select the mapping direction. For the Quality Center - Project Tracker bidirectional scenario, select Create mappings for both directions.
-
Specify how potential conflicts should be resolved. You can choose to:
- Replace the target artifact's values with the source artifact's changes
- Discard the changes in the source artifact and not update the target artifact
- Quarantine the conflicting artifact in the hospital
Tip: If you select Overwrite target artifact for one direction, we suggest you select Do not update target artifact for the other, so that one system will prevail in case of a conflict. However, even if you choose Overwrite target artifact for both directions, it’s extremely unlikely that the connector would pick up changes in both systems at the same instant resulting in a conflict. -
Click Next.
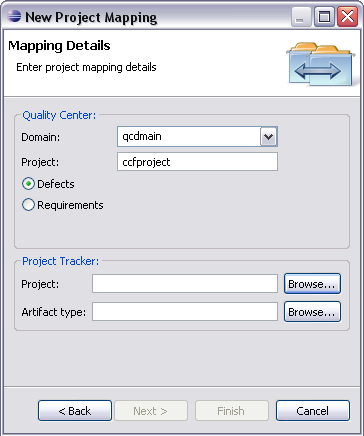
- Specify the Quality Center domain and project names.
- Select the Quality Center component you want to map to Project Tracker. For example, Defects.
-
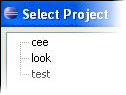
Browse to the CollabNet Enterprise Edition project or TeamForge project with
Project Tracker.
-
Browse to the Project Tracker artifact type.

- Click Finish.
The system fills in the rest of the values for each mapping.
Tip: When
you select a project mapping in the CCF Explorer, its window displays the values for all fields in the corresponding
SYNCHRONIZATION_STATUS table row.