To add a TeamForge connector site to your Desktop, you provide the URL of the connector server, and your account on the TeamForge instance for which the connector server is configured.
To set up the connector server, see these instructions:
When that's done, users can add the connector to their Desktop.
Follow these steps to add a TeamForge
connector site:
-
In your Desktop, do one of the following:
- Select .
- In the Site Explorer, click the Add CollabNet Site icon.
-
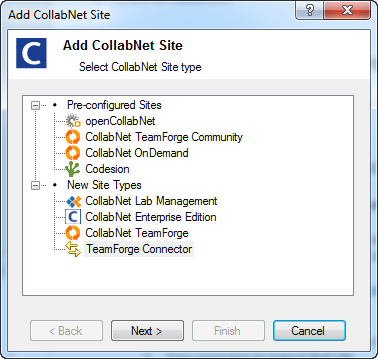
Select TeamForge Connector for the
site type and click Next.
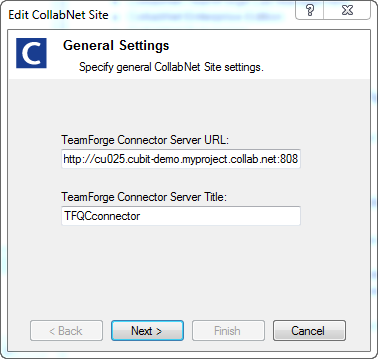
The General Settings dialog appears.
-
Specify the title for the TeamForge
connector and click Next.
The title is used as the name of the connector in the Site ExplorerCollabNet
Site Browser.
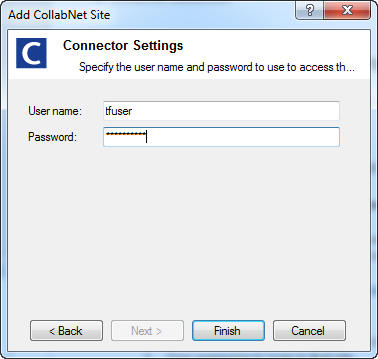
The CollabNet Connector Settings dialog appears.
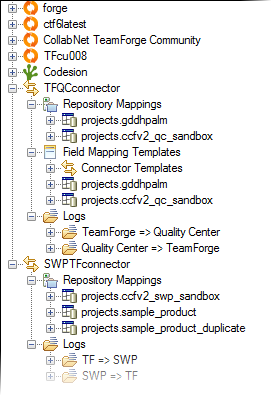
The TeamForge connector appears in the
Site Explorer. You can expand it to see the connector's repository mappings, field
mapping templates, and log files. Here's an example:
 The connector functionality available in your Desktop depends on the permissions
you've been assigned in
TeamForge.
The connector functionality available in your Desktop depends on the permissions
you've been assigned in
TeamForge.
Note: You need to have some core connector properties configured before data can be
synchronized between the participating systems. See this topic for details on
how to perform this initial setup.