Set up your connector synchronization scenario by adding a new landscape in the CCF perspectve.
- SWP2TF for the ScrumWorks Pro to TeamForge direction
- TF2SWP for the TeamForge to ScrumWorks Pro direction
- In Eclipse, open the CollabNet Connector Framework perspective from .
-
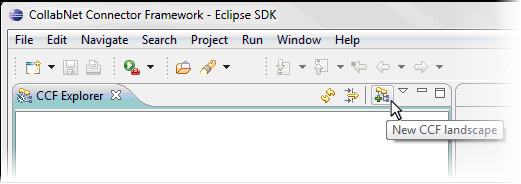
In the CCF Explorer, click the New CCF landscape icon.
-
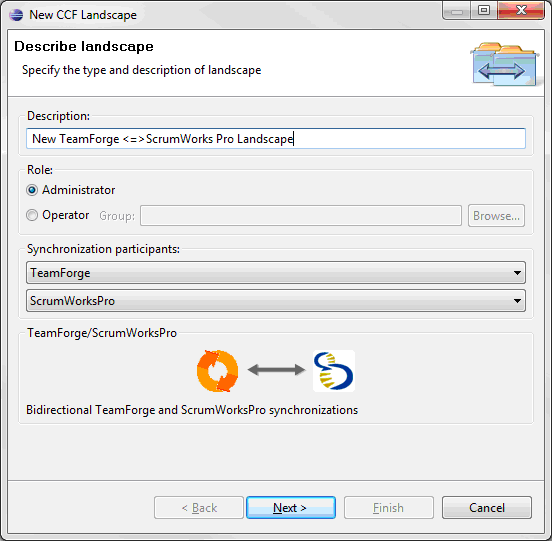
In the New CCF Landscape window, enter an optional description for your connector scenario.
-
Note: In the Role: section, two modes of operation are available:Select Administrator.
- Administrator
- Operator
An Operator does not require physical access to the CCF configuration, but does need access to the central HSQL (CCF) database. The Operator can pause and restart project mappings and work with hospital entries.
The instructions in this Quick Start Guide are written for an Administrator landscape.
- Under the Synchronization participants dropdowns, the choices for TeamForge/ScrumWorks Pro (bidirectional) are automatically selected. Click Next.
- Enter or browse to the location of the config.xml file for both synchronization directions.
If you copied the sample scenario files, use the config.xml files that were provided in the examples.
Note: When the config.xml file is selected for either direction, the setup wizard will automatically populate the location of the proper file for the other direction.
- For the Teamforge-to-ScrumWorks Pro direction, select <CCF_HOME>/production/TFSWP/TF2SWP/config.xml.
- For the ScrumWorks Pro-to-TeamForge direction, select <CCF_HOME>/production/TFSWP/SWP2TF/config.xml.
Note: If you chose to create an Operator landscape, you will be prompted to enter the information for connecting to the database.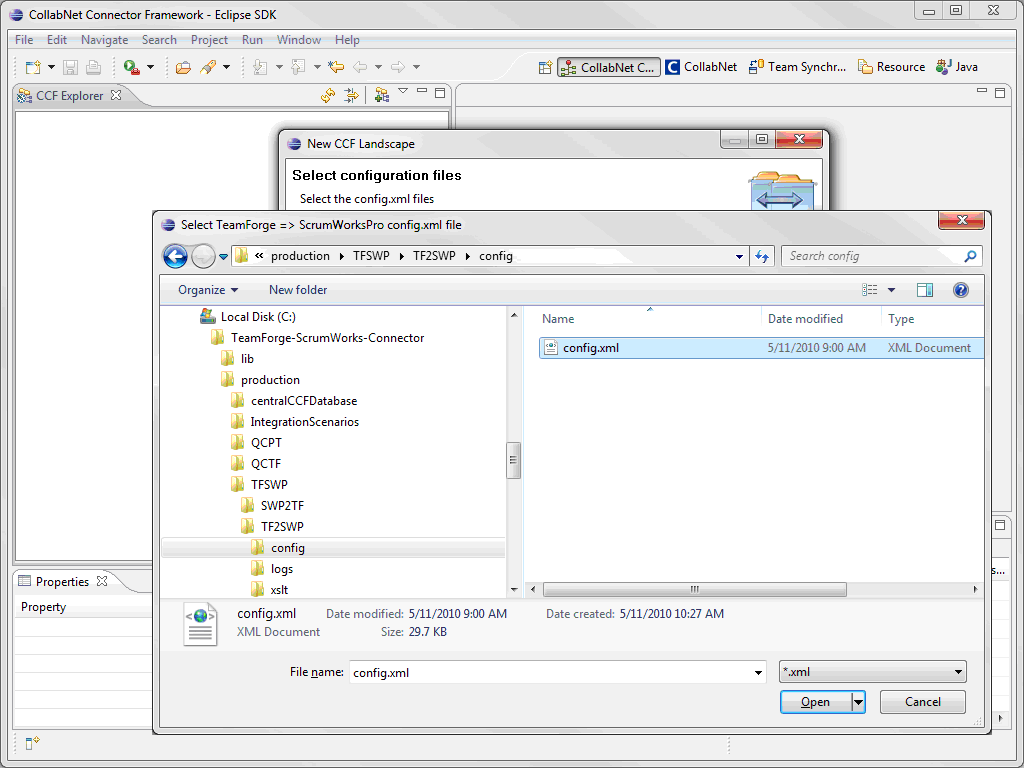
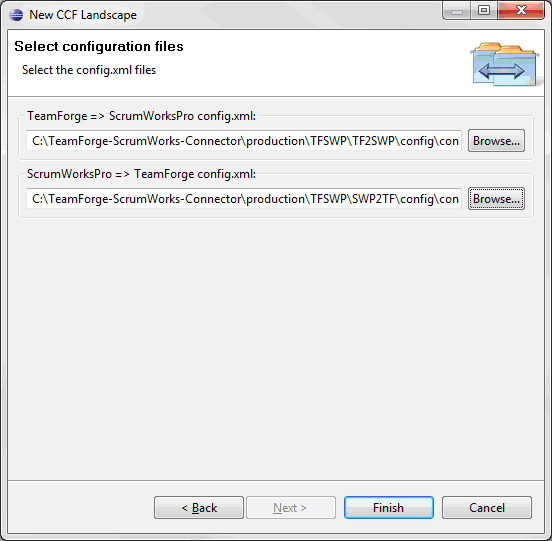
- Click Finish.
Your scenario appears in the CCF Explorer. It contains the project mapping and log folders. The new landscape will be automatically opened in the Landscape editor.
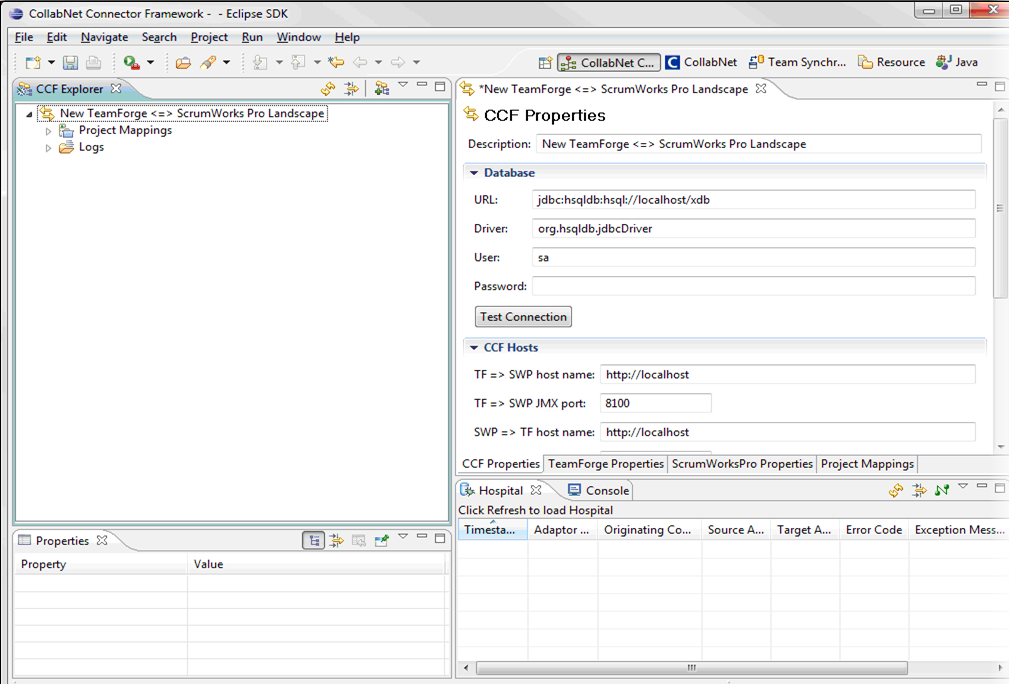
To view or change properties for a previously-defined landscape, open it in the Landscape editor either by double clicking it, or by selecting it and then selecting Edit landscape in the context menu.