Installation and configuration

Instructions to integrate TeamForge 16.7 with TestLink 1.9.15 and later.

Installation requirements for TeamForge-TestLink integration.
Attention:

CollabNet supports only the integration between TestLink and TeamForge. For TestLink support, contact TestLink directly. Click here for more information.

TeamForge 16.7 and later releases support integration only with TestLink 1.9.15 and later. If you are on earlier versions of TestLink, upgrade to TestLink 1.9.15 and later and integrate it with TeamForge. This integration does not provide backward compatibility (Data reliability and Migration) to older TeamForge-TestLink 1.9.11 integration that is based on TeamForge's Integrated Application Framework (IAF).

  1. Log on to the TeamForge Application Server.
  2. Download the collabnet-testlink-1.0.jar file.
  3. Go to My Workspace > Admin
  4. Select Projects > System Tools > Customizations
  5. Click Create.
  6. Click Choose File and select the collabnet-testlink-1.0.jar file.
  7. Click Add.
  8. Log on to the TestLink Server and install TestLink.
    Important: Make sure that you have the following RPMs available during TestLink installation:
    • php-xml
    • php-mcrypt
  9. Download the teamforge-testlink-plugin-1.0.tar file to the /tmp directory and untar the file to <testlink-installation-directory>/plugins/ directory.
    • cd <testlink-installation-directory>/plugins/
    • tar -xvf /tmp/teamforge-testlink-plugin-1.0.tar
  10. Log on to TestLink.
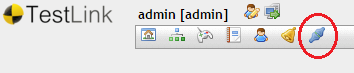
  11. Click the Plugins Management icon from the toolbar.
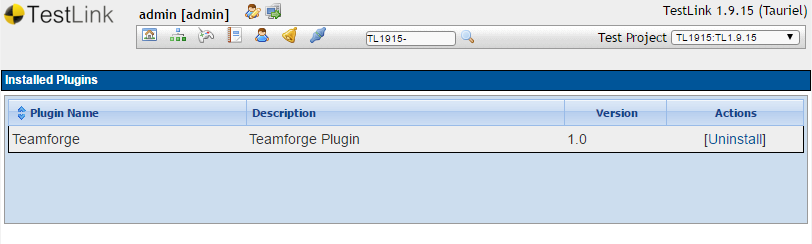
  12. Identify the TeamForge-TestLink integration plugin from the list of Availabe Plugins and click Install. The TeamForge-TestLink integration plugin is installed and shows up in the Installed Plugins section.
  13. Click the Home icon from the toolbar.
  14. Create a TestLink project.
    1. Click Test Project Management and click Create.
    2. Define project attributes such as the name, description, project prefix and so on. Click Save.
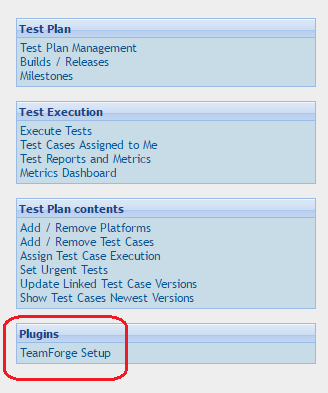
  15. Go to TestLink Home and click the TeamForge Setup link.
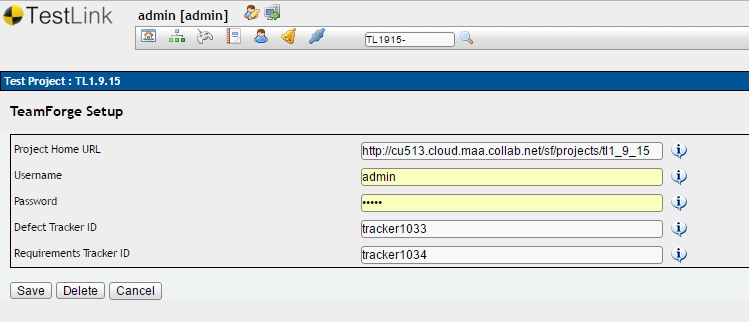
  16. Type the TeamForge Project Home URL, Username, Password, Defect Tracker ID and Requirements Tracker ID and click Save.
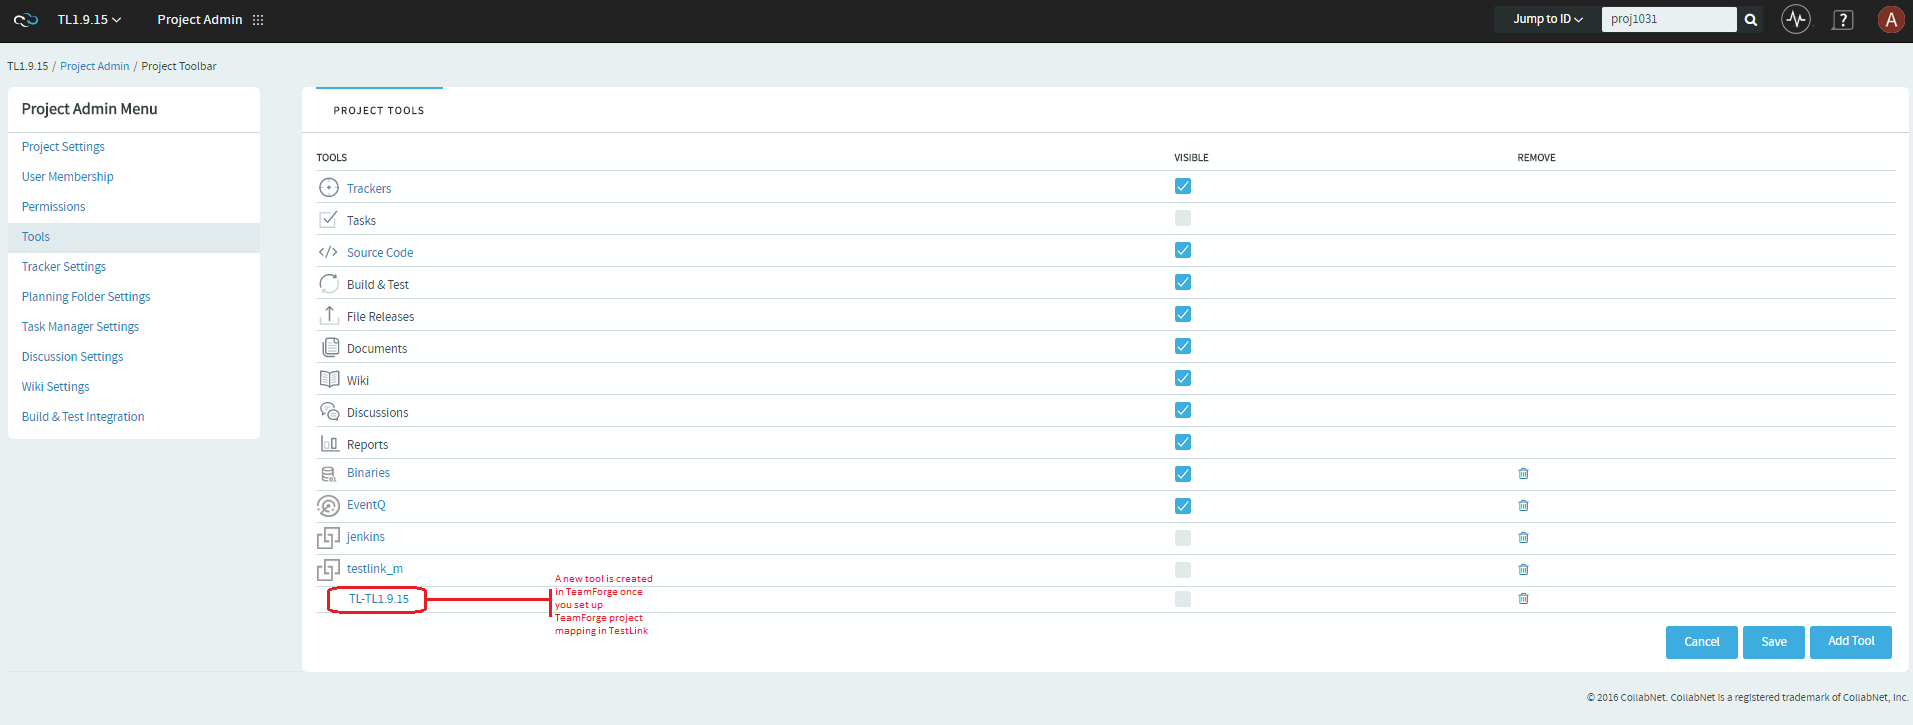
    Important: It is assumed that you have a TeamForge project, requirements tracker and defect tracker created already. If not, create them first and then perform this step of setting up TeamForge in TestLink. Have the requirements and defect tracker ID handy while setting up TeamForge in TestLink.
    Fore more information on creating a TeamForge project and seting up trackers, see: Once you set up the TeamForge project mapping in TestLink, a new TestLink tool is created in TeamForge (Project Home > Project Admin > Tools).
  17. Go to Project Home > Project Admin > Tools and select the TestLink tool.

    The Edit Tool page appears.

    1. Type a Source Name.
    2. Select Custom Activity Source from the Source Type drop-down list.
    3. If required, select an Associated Source from the drop-down list. For example, select Build.
    4. Change the icon, background color and add tags, if you want to.
    5. Click Show Configuration to view the configuration data.
      Important: Copy and keep the custom source information such as the Source Association Key, Queue Server, Queue Username and Queue Password handy to be used for Test Suite configuration later in the process.
    6. Click Update.