The ActionHub rules editor allows you to easily define new rules to drive your
development processes. Selecting ActionHub from the TeamForge tools menu displays a list of
currently defined rules.
-
From the TeamForge tools menu, choose .
-
Choose your project from the navigation section. Your project's statistics page
displays.
-
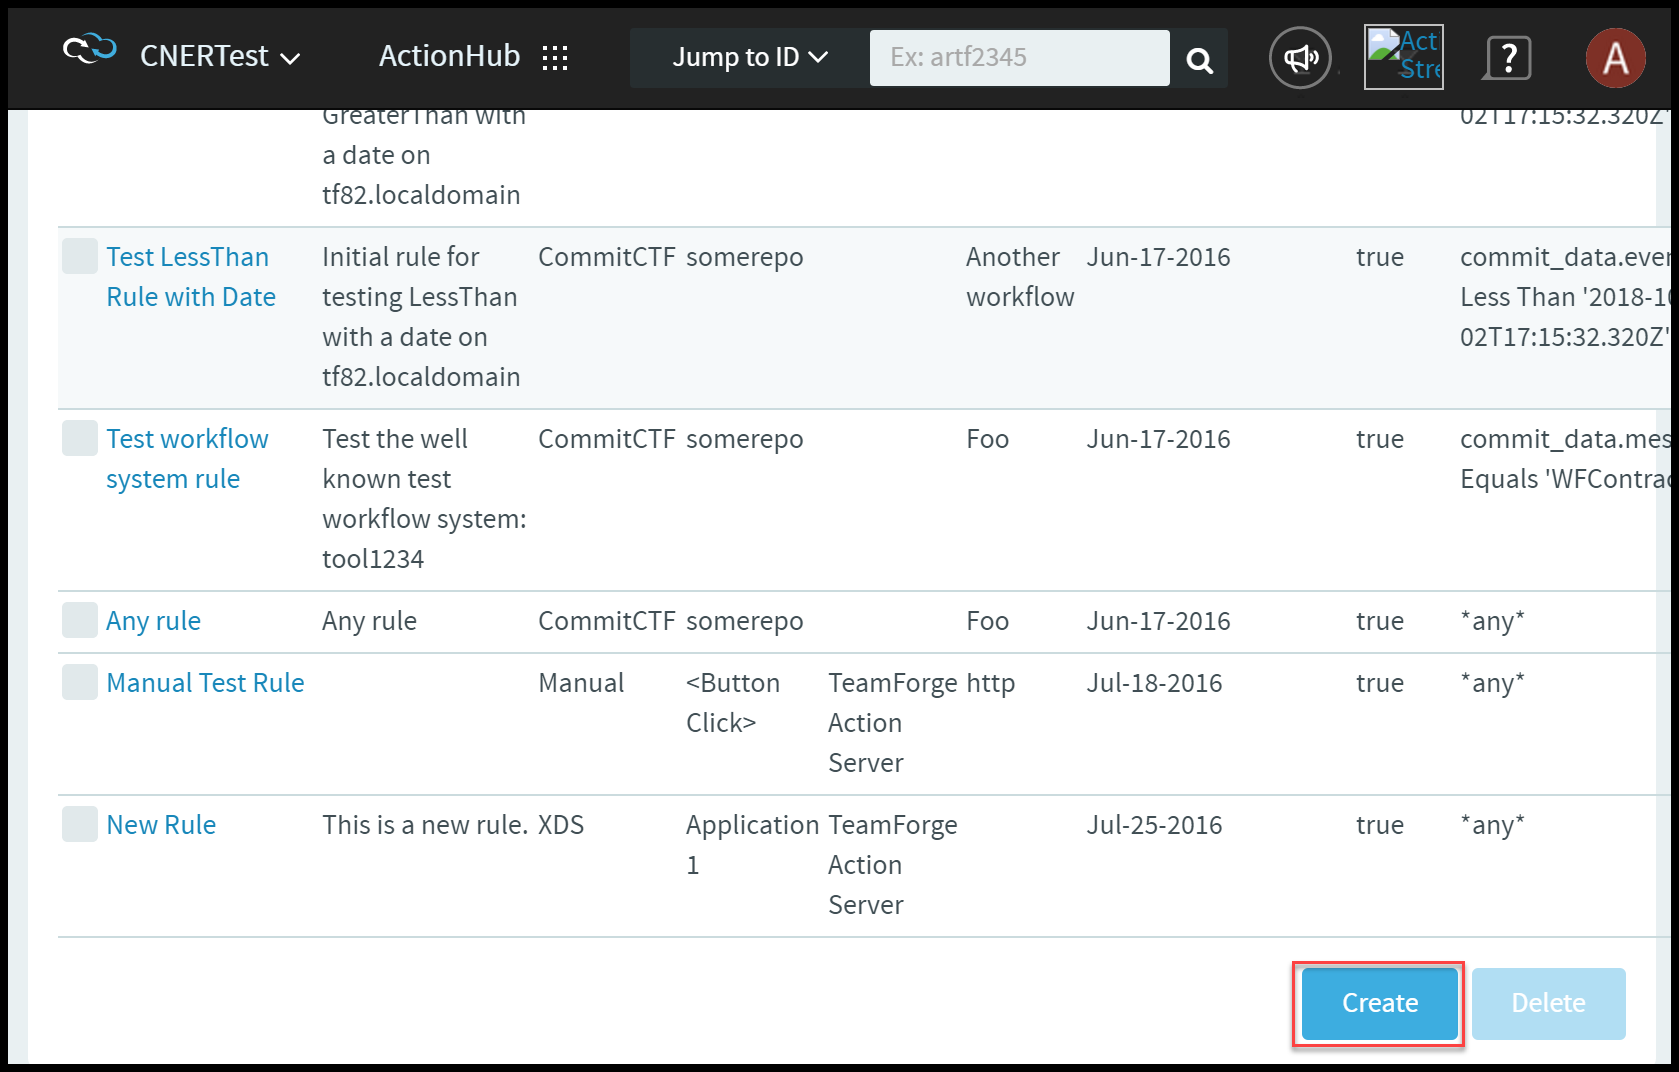
From the TeamForge tools menu, choose . The Rules page displays.
-
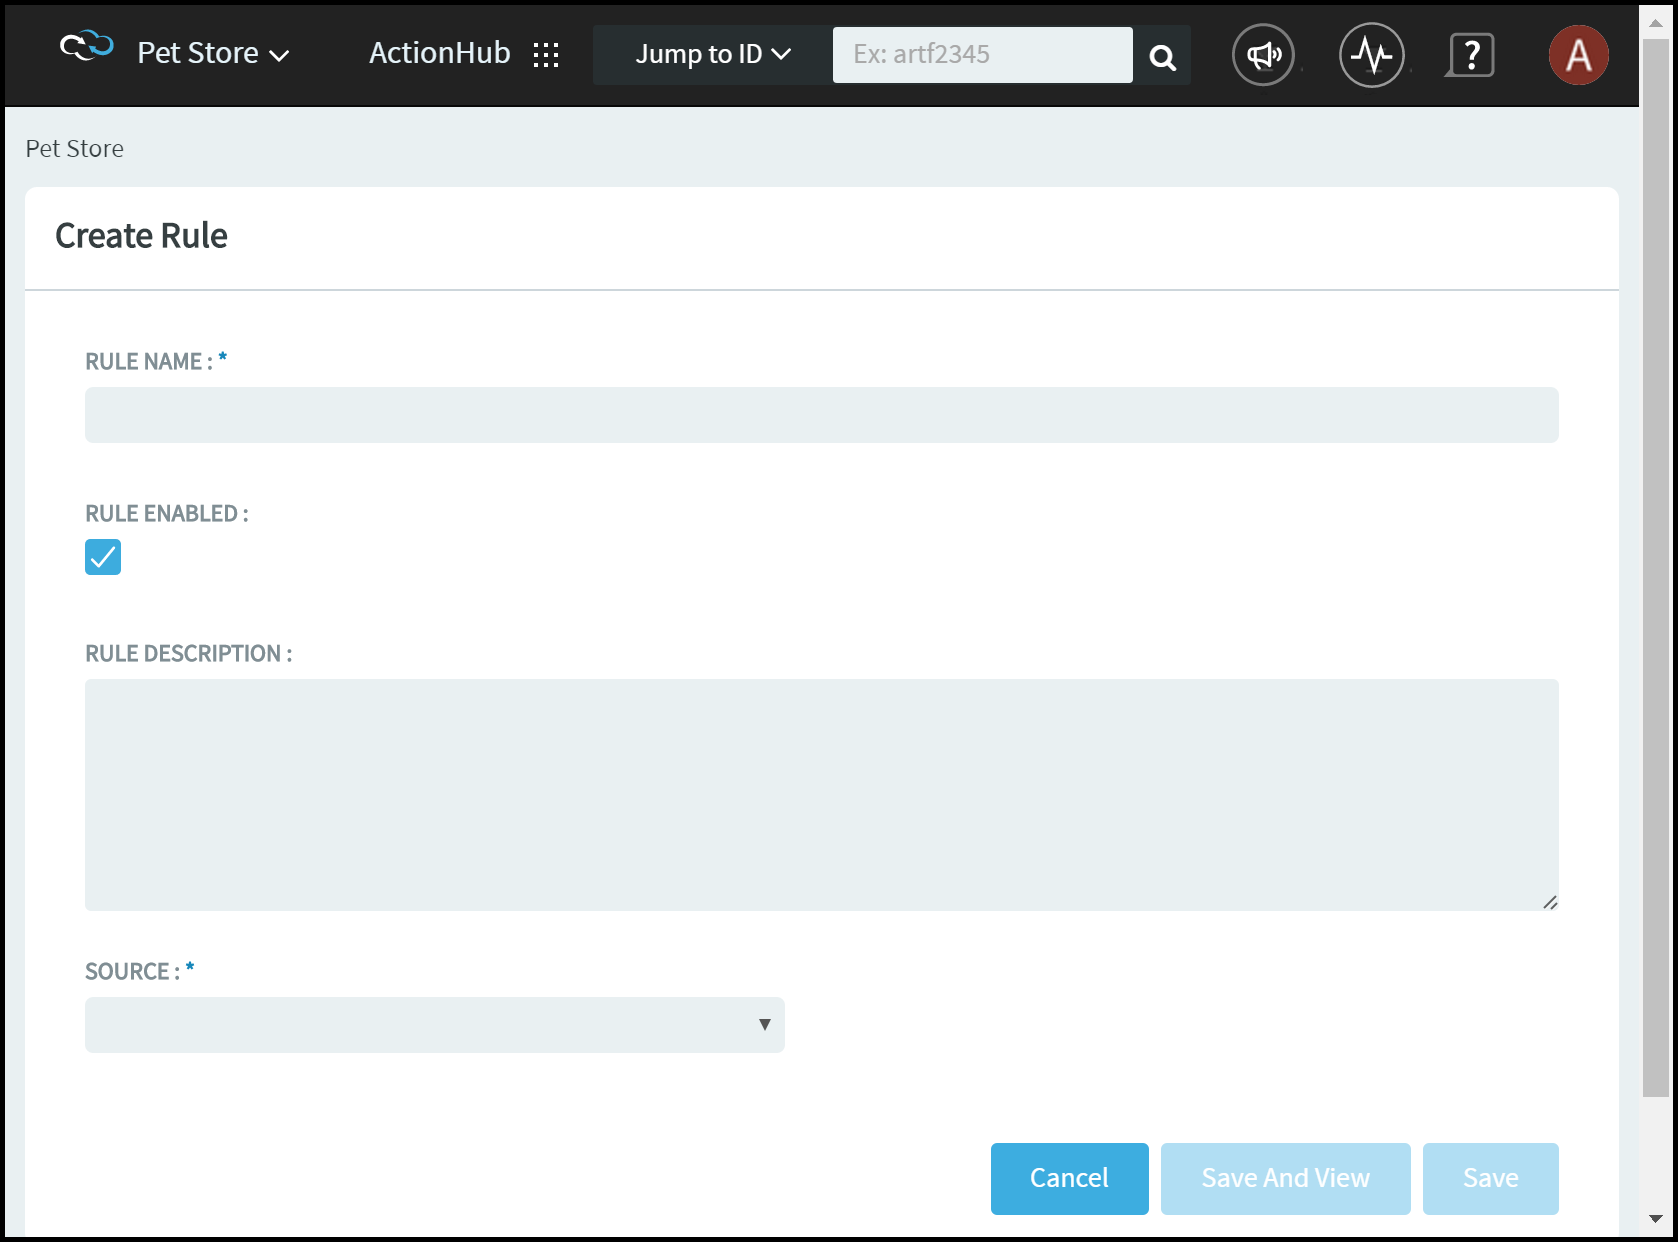
In the Rules section, click Create. The Create Rule page
displays.
-
In the Rule Name field, enter the name given to the rule
that will be displayed in the rules list and in notifications generated by the
rule. Enter meaningful attributes into this field to describe what the rule
does. This will make it easier to understand in lists and notifications.
-
For the Rule Enabled option, click the checkbox to
enable or disable the rule. Disabling a rule prevents it from being processed by
the ActionHub rules engine.
-
In the Rule Description field, enter a detailed
description describing the purpose of the rule.Include as much detail as
possible to help another person understand the rule. For example, the
description may include details about the parameters defined for the action on
the target system.
-
From the Source list, select the source system from
where the event will be generated. The SOURCE drop down will display a list of
all systems defined in TeamForge EventQ. These source systems generate events
which may match the rule being defined. Selecting the source system also tells
the editor the type of event generated by the system such as commit, build,
deploy, review, health and more. This allows the editor to understand the format
of the message and make it easy to create the criteria for the rule.
-
In the Criteria field, define the criteria for what
events should match the rule.When a rule is first created it has a default
criteria of Matches Any condition. This means it will match any event generated
by the source system. To modify the condition, click the Matches Any link and
select Edit Condition from the menu. The Edit Condition
dialog box displays allowing you to modify the condition.
-
From the Target list, select the target system to invoke
action. The TARGET drop down will display a list of all target workflow systems
defined in TeamForge EventQ. After selecting a target system, the
ACTION drop-down list will be populated with actions
available for the event type defined by the SOURCE system.
-
From the Action drop-down list, select the action to
take for the defined event. The Action drop-down will display all available
actions on the target workflow system based on the event type of the Source
system. After selecting an action, the PARAMETERS table will be populated with
parameters required by the action. Refer to the documentation for the action in
the target workflow system for purpose of each parameter. If the selected Action
requires input, the Parameters table will be populated with the required
parameters.
-
In the Parameters table, specify the appropriate value
for each parameter. Since each action is different, refer to the documentation
for the action in the target workflow system for the purpose of each input
parameter.
-
Click Save. The new rule
is
created.