A package is a folder into which one or more related releases are published. For example, you might create a package to represent a product deliverable or major component. A package must exist before you create the releases and individual files that will go into the package.
Before you can define an application, environment and release package, you must install a valid TeamForge license, create a TeamForge Project and Planning Folder.
-
Define the Application.
-
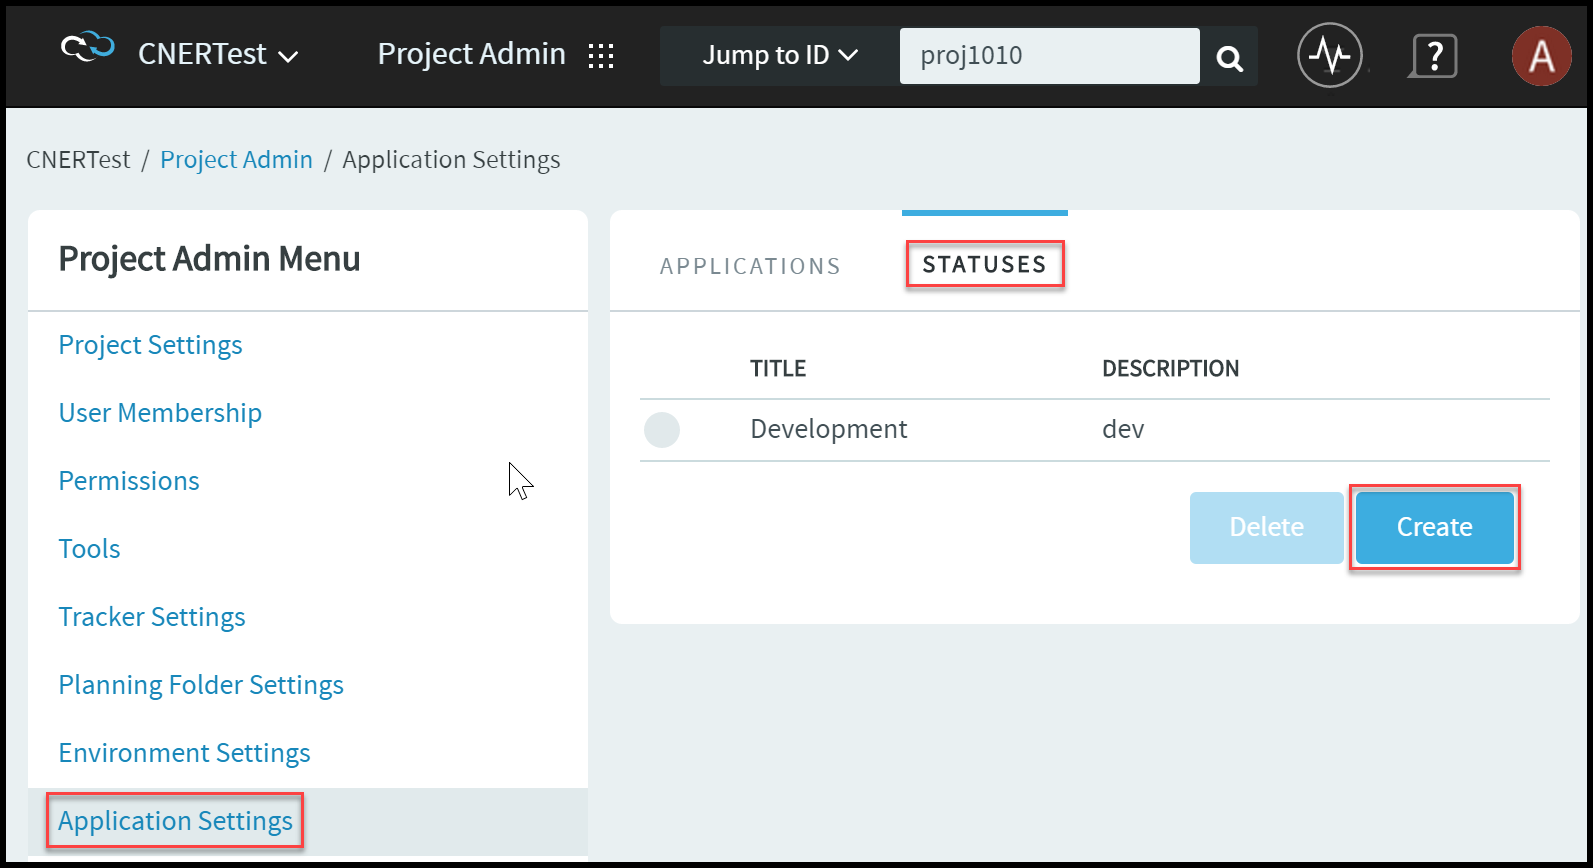
From the Project Admin menu, choose
Application Settings. The
Applications Settings page appears.
-
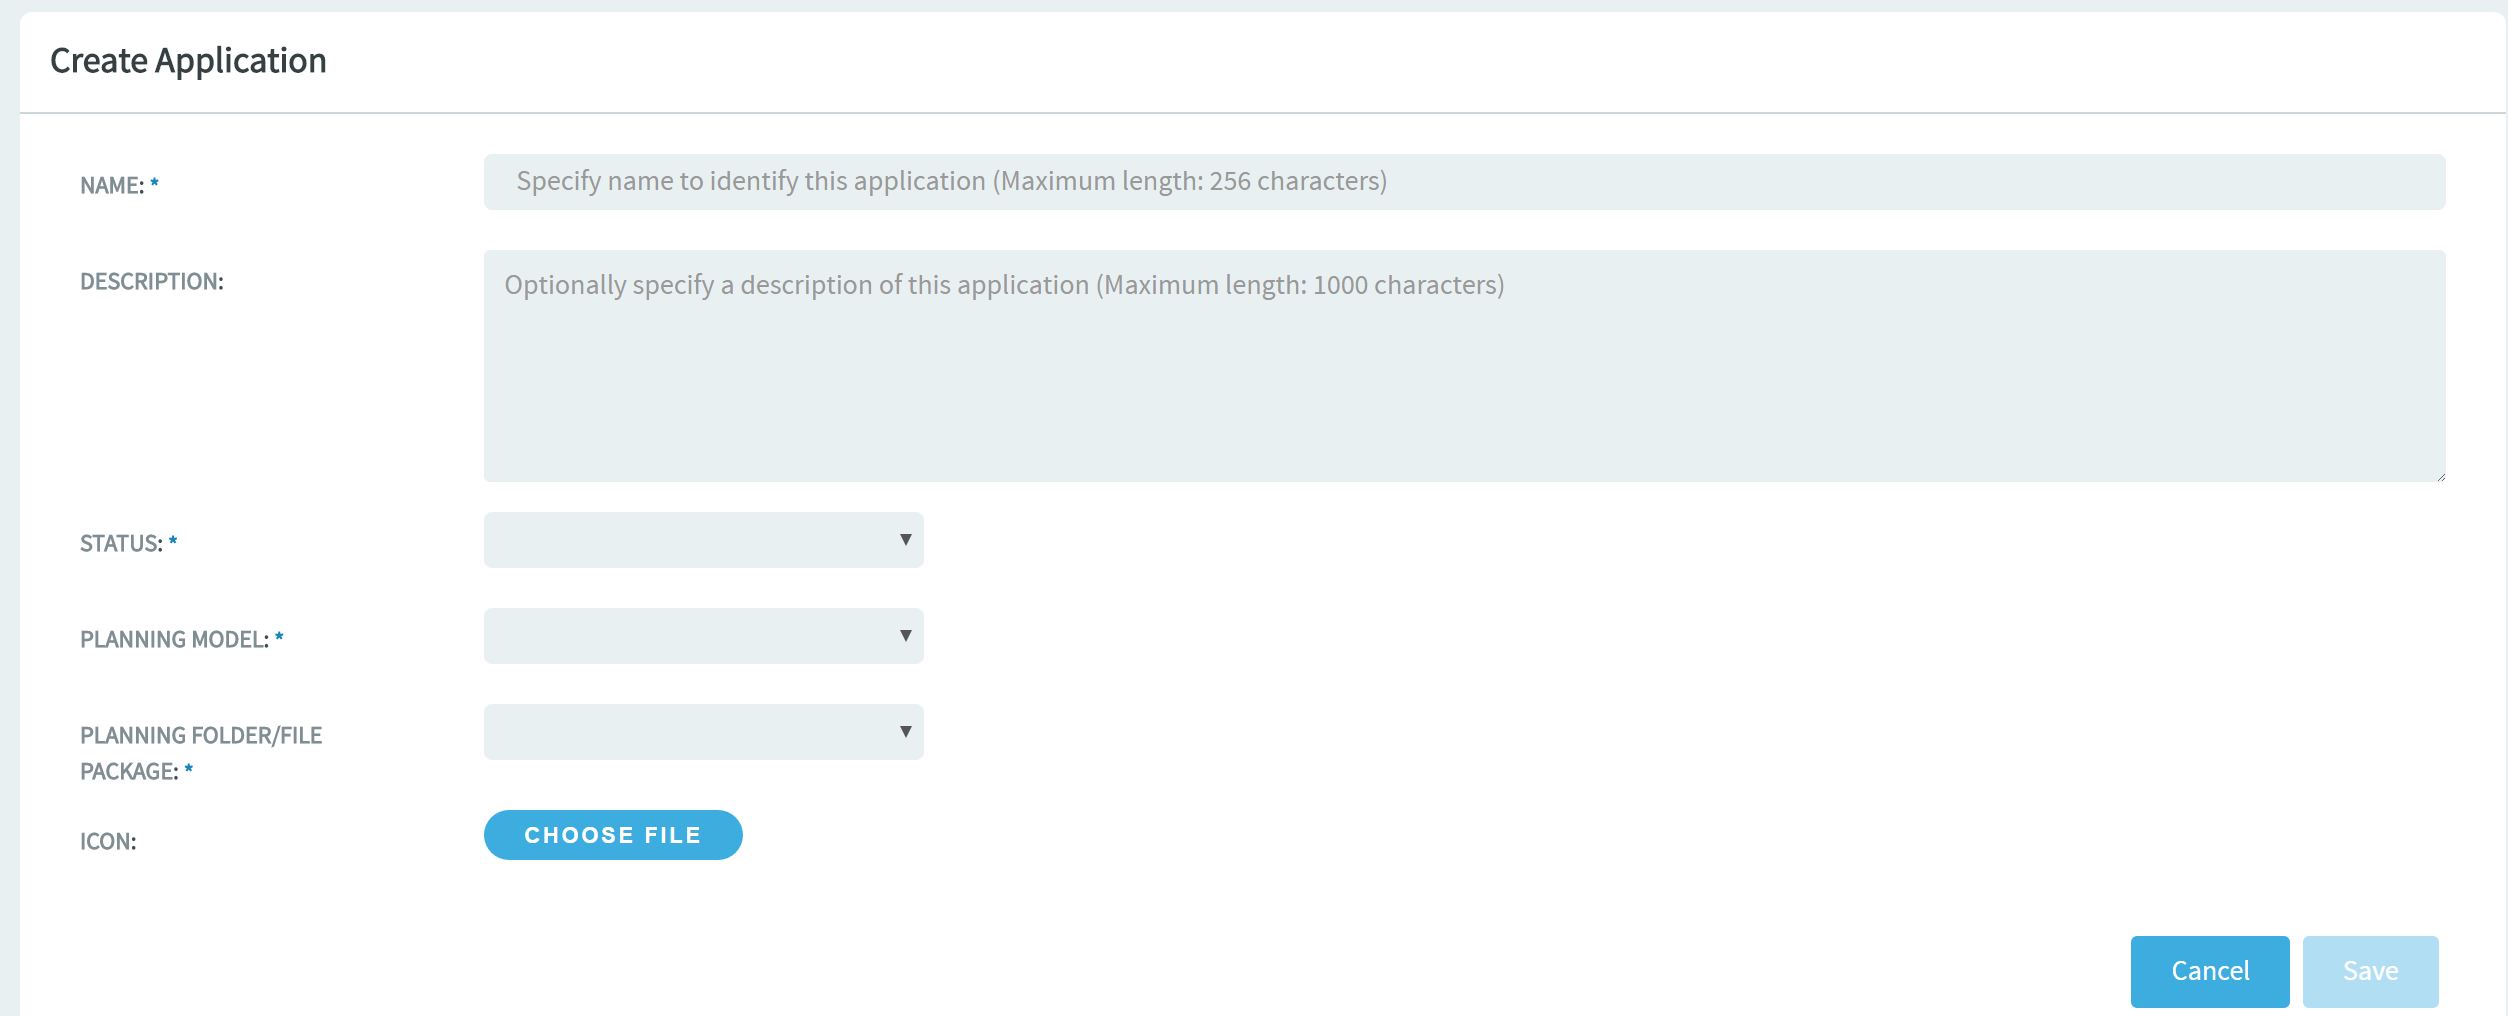
Click Create New. The Create
application form appears.
-
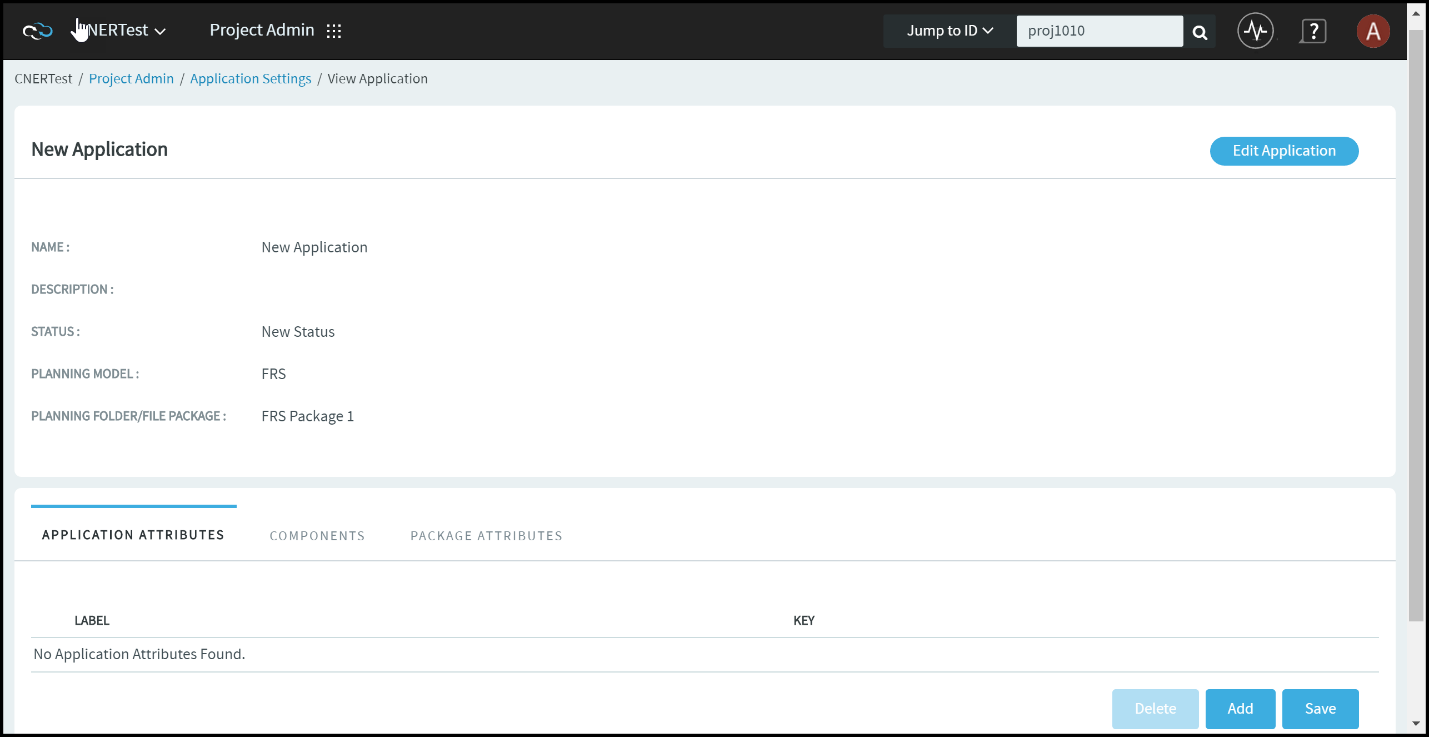
Click Save. The View
Application page appears. This page contains three tabs:
Application Attributes,
Components and Package
Attributes.
-
From the Project Admin menu, choose
Application Settings. The
Applications Settings page appears.
-
Define the Environment Infrastructure.
-
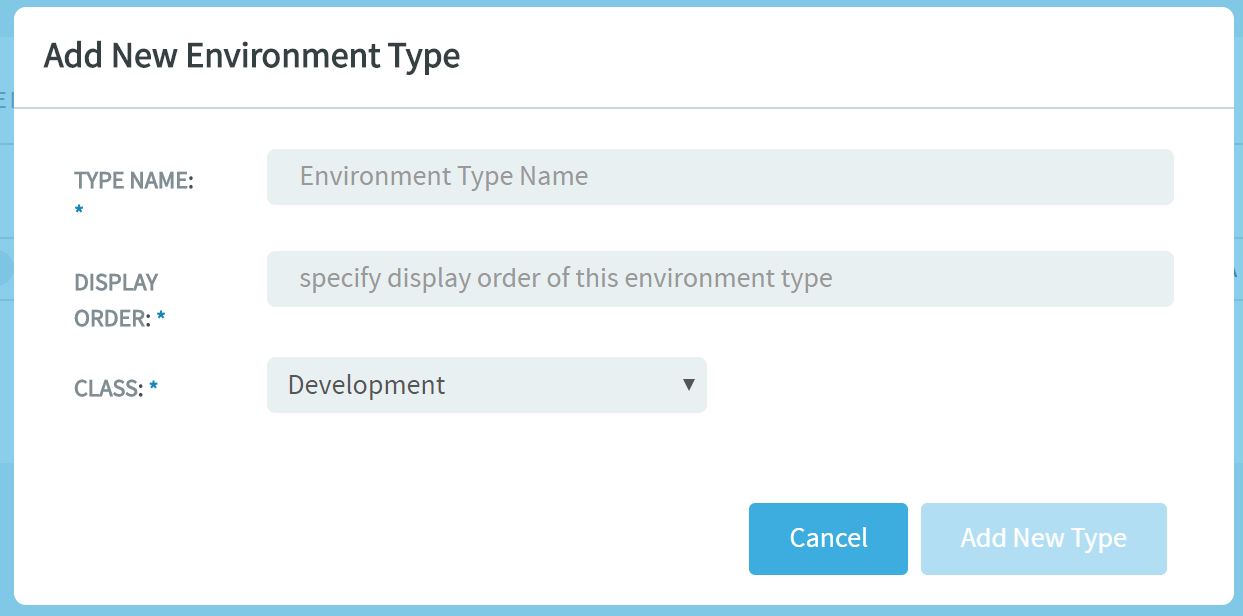
Click New Type. The Add New
Environment Type dialog appears.
-
Click the Environments tab.
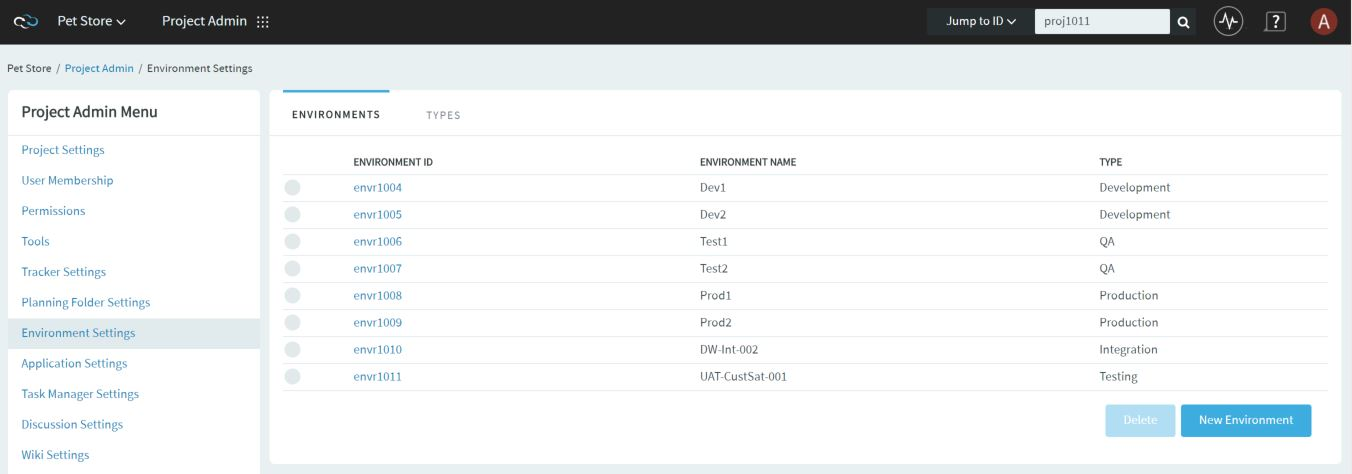
-
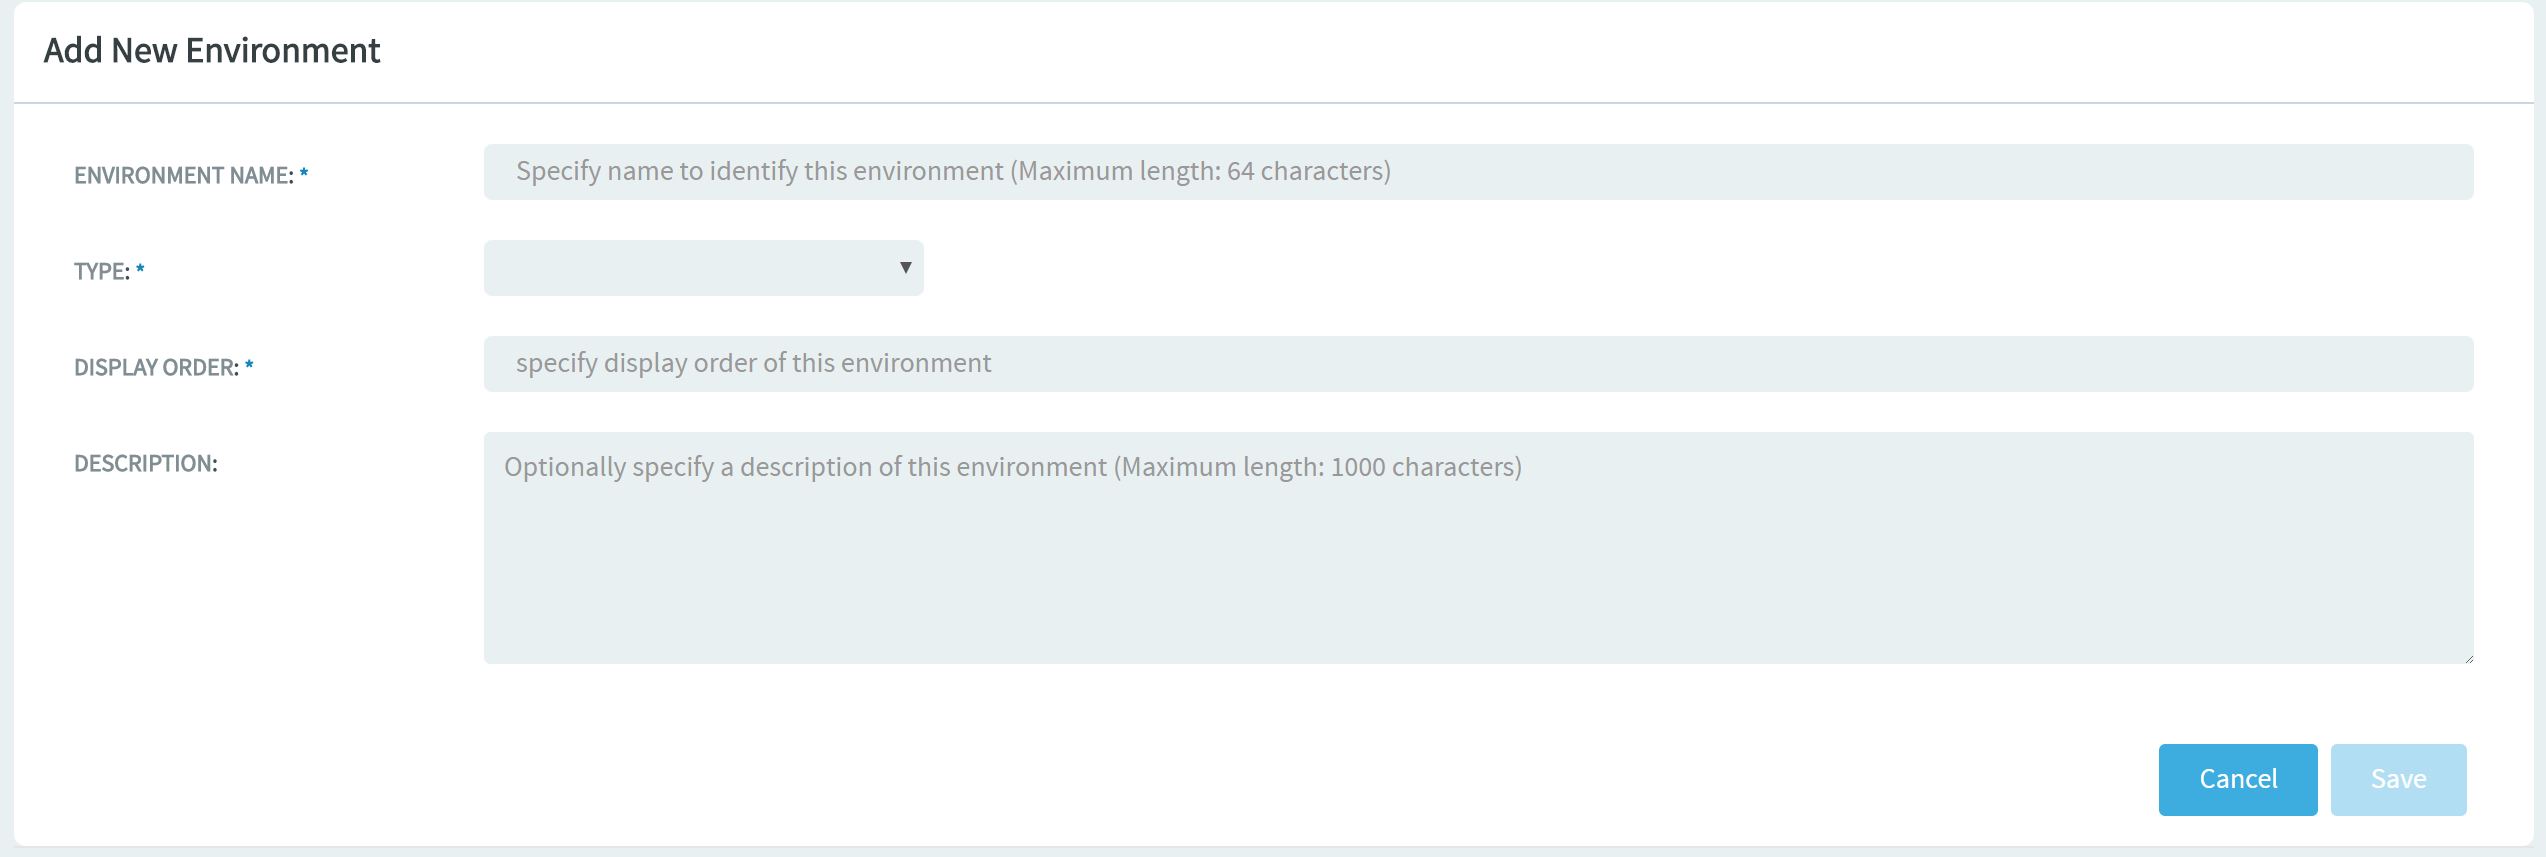
Click New Environment. The Add New
Environment page appears.
-
Click New Type. The Add New
Environment Type dialog appears.
-
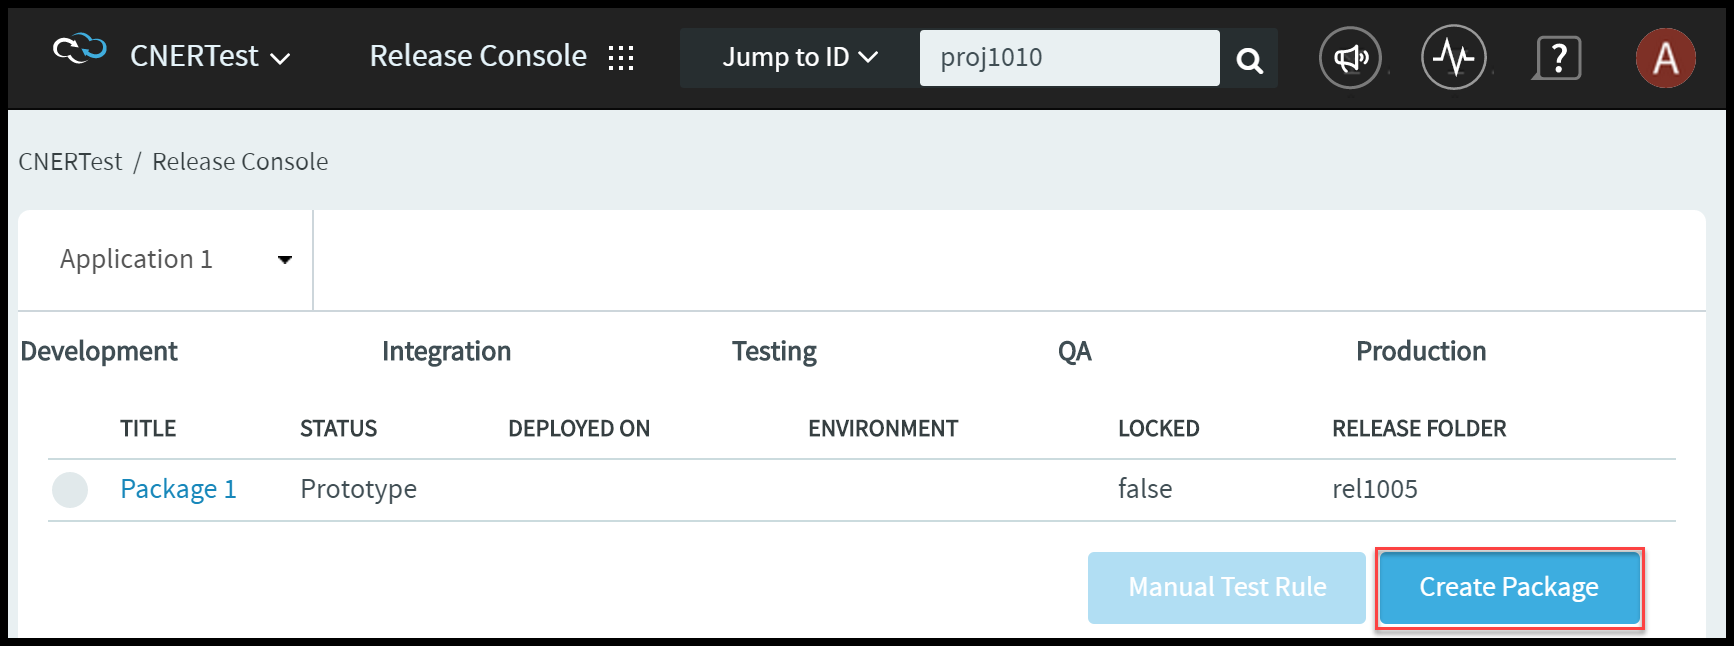
Create a Package.
-
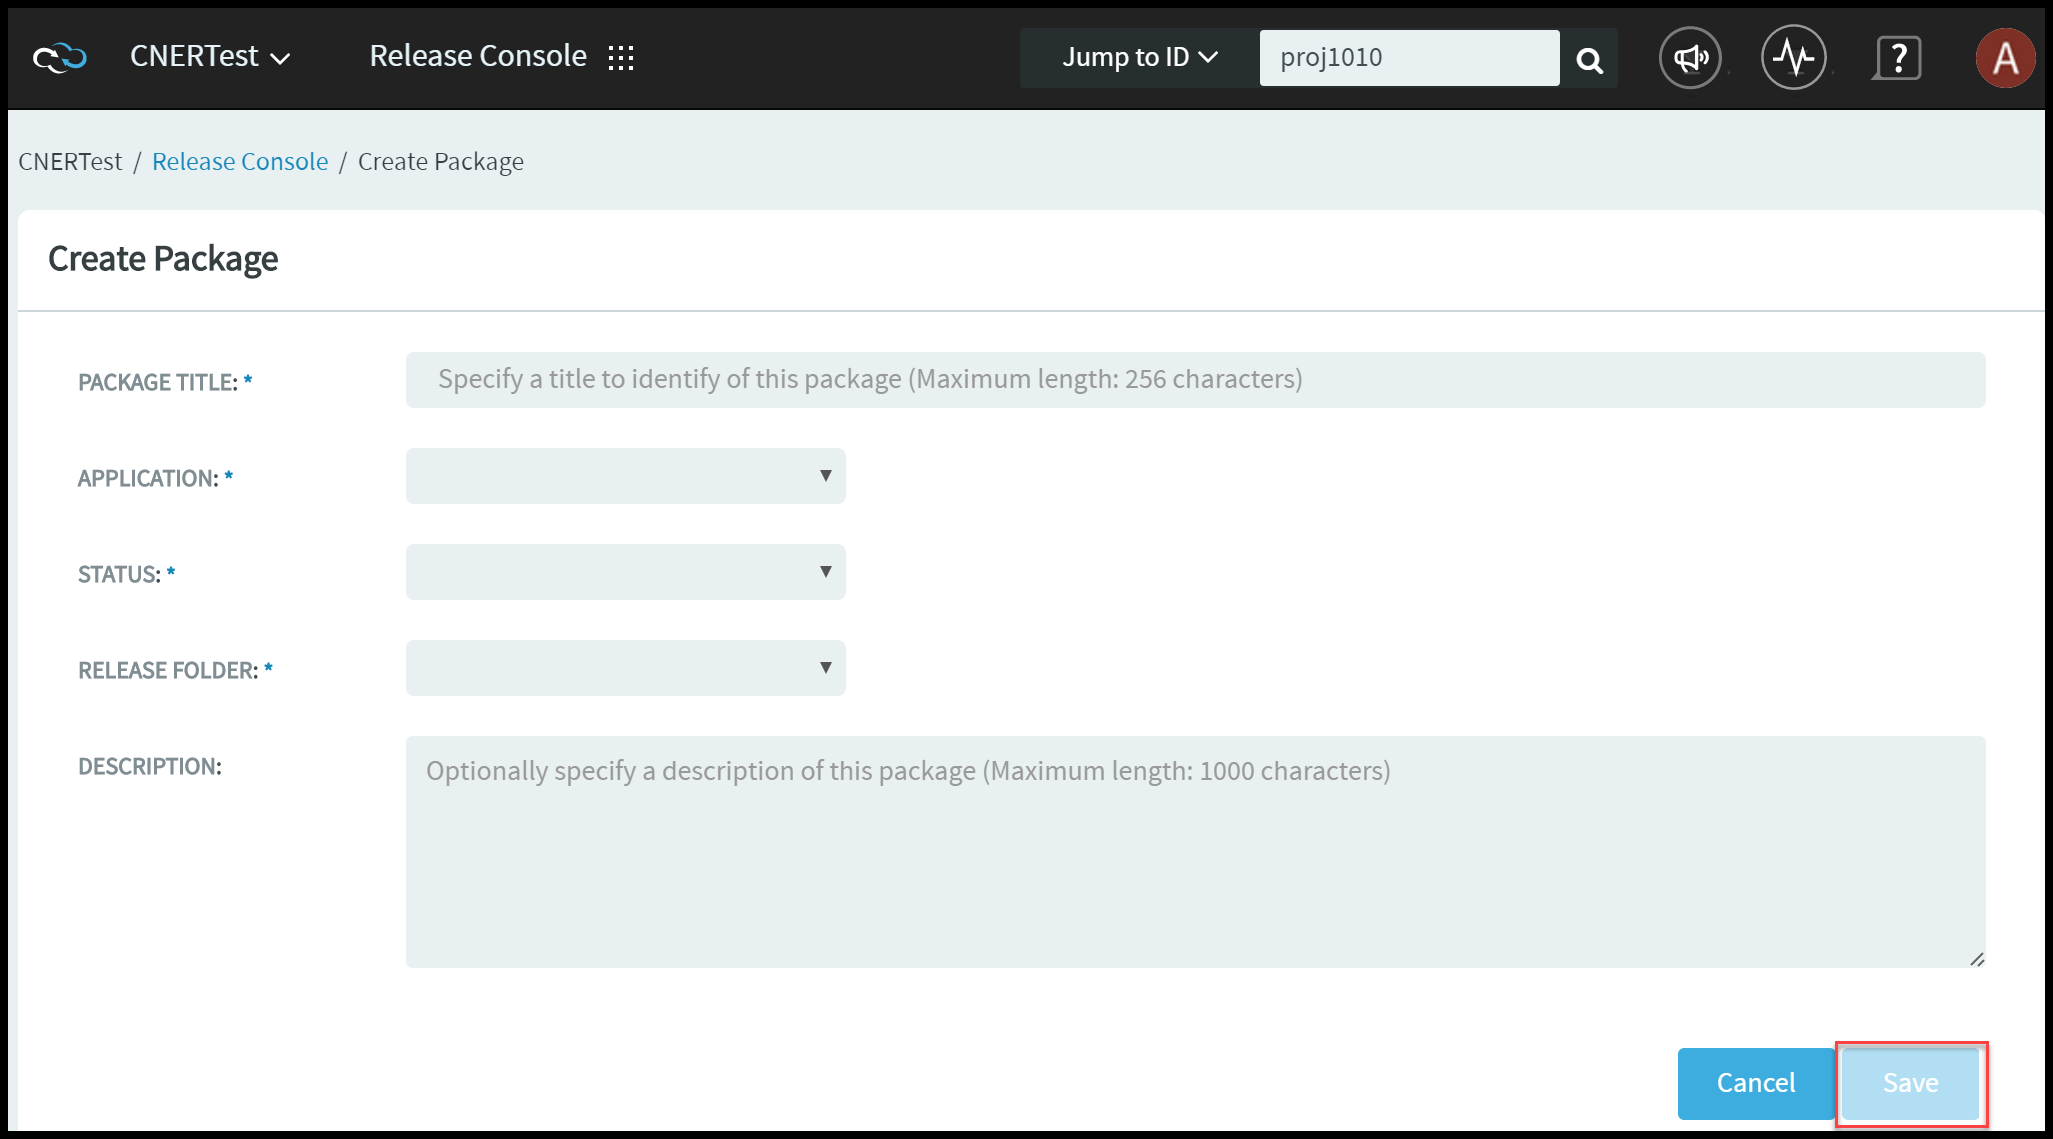
Click CreatePackage. The Create
Package page appears.
-
Enter a title for the new package.
-
Click CreatePackage. The Create
Package page appears.